How to: MOLD(-MAKING)
Mainly depending on the material you want to use for the final product, but also the type and size of the shape you want to (re-)produce there are different ways of setting up a suitable mold.
In the following a collection of informative videos to get you started (as the materials used in the videos are from either the United States or Great Britain you won’t find the exact same brands but very similar or exact same mixtures and compounds in Vienna at http://www.farbenwolf.at/ , just tell them what you want to do and they will provide you with suitable materials and application guidelines, mainly in German though…)
SILICONE MOLD FOR CASTING WITH RESINS
FIBERGLASS MOLD & PART
FIBREGLASS SPLIT-MOLD FOR CARBON FIBRE PARTs
WOOD / VENEER LAMINATION
a quick overview explanation on how to create a 2-part mold for pressure lamination of wood veneer.

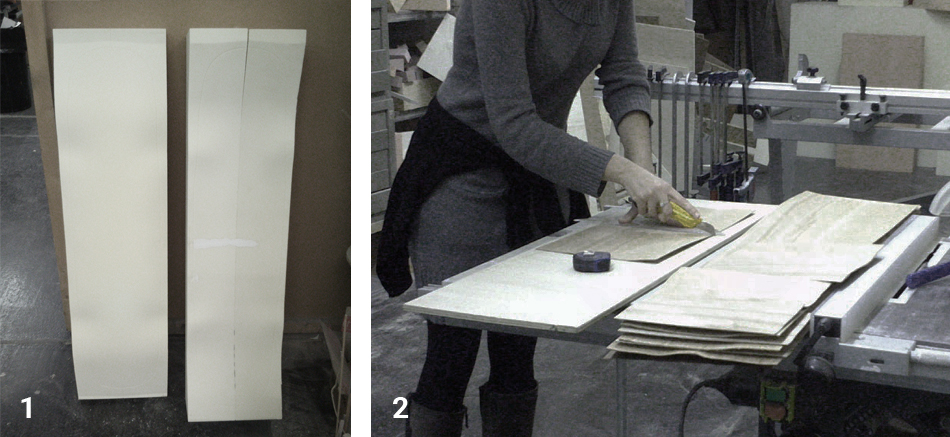
1. CNC-milling of the upper and the lower half of the 2-part pressure mold out of a SIKA Block (the more parts you want to produce with it, the denser the block is to choose)
2. Cutting of the veneer layers to fit the mold
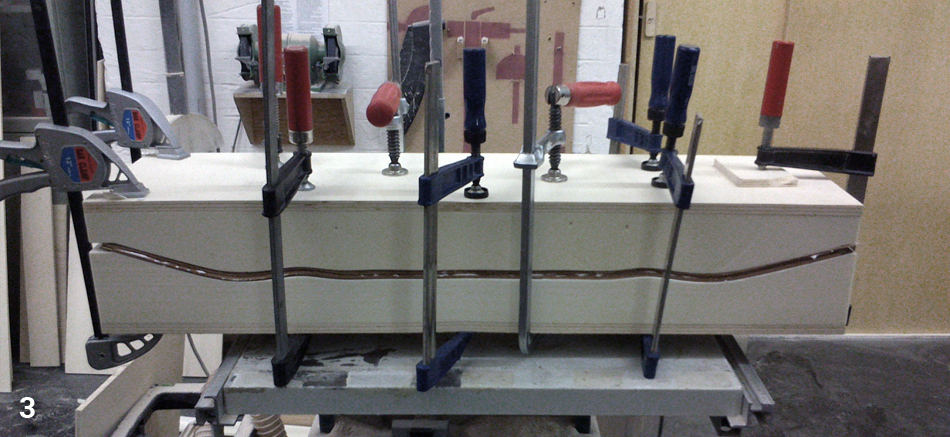
3. Adding a thin even layer of wood-glue between every layer of veneer (max. time for the glue to dry out are usually 16-17 minutes at room temperature, so hurry)
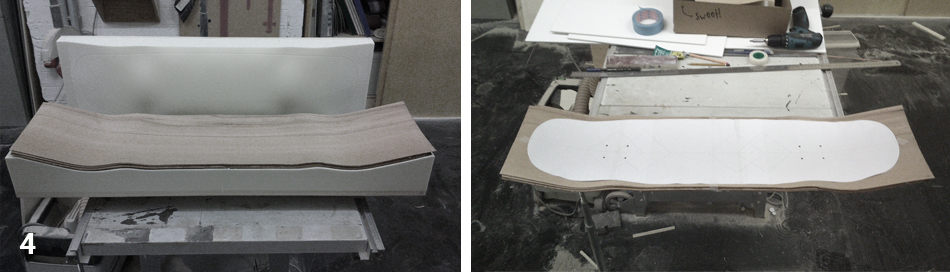
Fit the whole veneer bundle into the mold, add a wood plate above and below the mold to evenly distribute the pressure of the clamps over the whole are (and also because the SIKA material can’t take the point loads of the clamps) and clamp the two mold parts together with as much pressure as possible.
4. After a drying period of at least a couple of hours (12 hrs over night are recommended) as there is not much surface area uncovered by the mold what reduces the drying out time immensely, the molded veneer, now plywood, can be taken out.